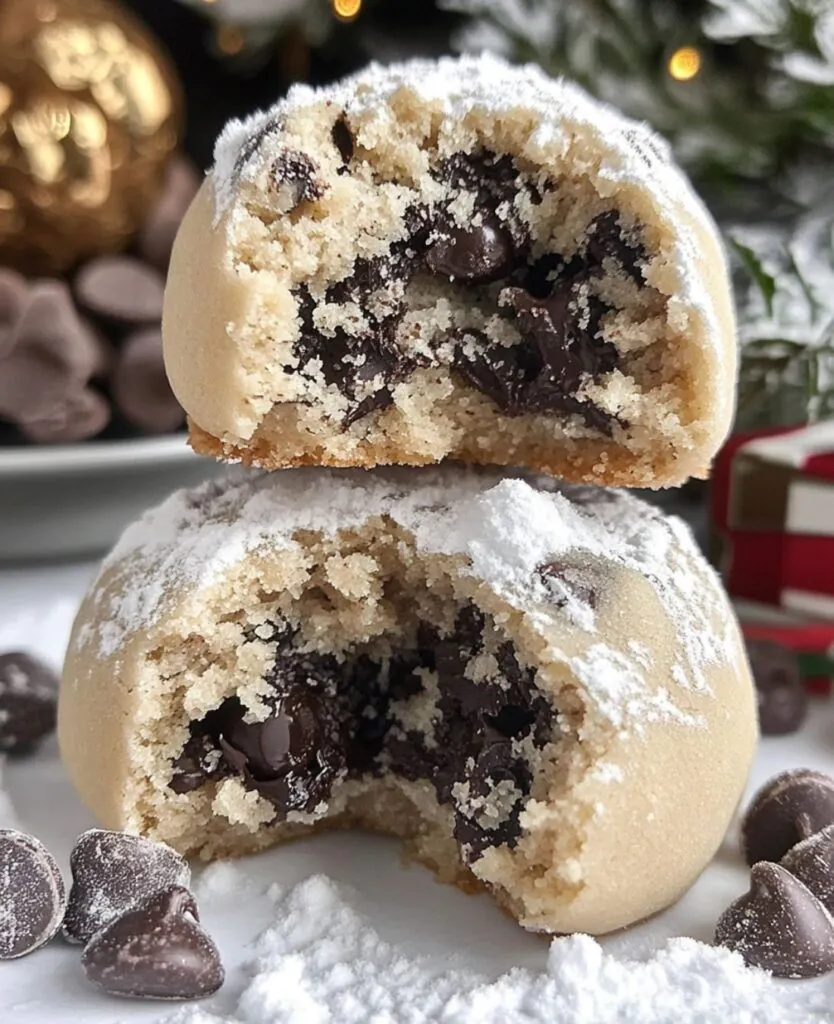
When the holidays roll around, I always find myself craving a cookie that’s as festive as it is delicious. These Peanut Butter Chocolate Chip Snowball Cookies are the perfect answer! They’re soft, buttery, and packed with melty chocolate chips, all wrapped up in a dusting of powdered sugar that looks just like snow. These cookies are easy to make and are a delightful addition to your holiday cookie tray—or just a cozy evening at home with a hot cup of cocoa. Let’s dive into the recipe!
Ingredients
Here’s what you’ll need to create these delicious snowball cookies:
- Unsalted Butter (1 cup, softened)
Butter is the base of this cookie, giving it a rich, melt-in-your-mouth texture. Make sure it’s softened for easy mixing. - Creamy Peanut Butter (½ cup)
Peanut butter adds a nutty, slightly savory flavor that balances the sweetness of the sugar and chocolate. Go for creamy for the smoothest dough! - Powdered Sugar (¾ cup, plus extra for dusting)
Used in the dough and to coat the cookies, this sugar creates that signature snowball look and adds a soft sweetness. Pro tip: sift the sugar to avoid clumps! - All-Purpose Flour (2 ¼ cups)
Flour provides the structure for these cookies. Be sure to measure it correctly by spooning it into the cup and leveling it off. - Vanilla Extract (1 tsp)
A touch of vanilla enhances all the other flavors in the cookies. - Mini Chocolate Chips (1 cup)
Mini chips are perfect here—they distribute evenly through the dough and melt beautifully when baked. - Salt (¼ tsp)
Just a pinch of salt helps balance the flavors and brings out the sweetness.

How to Make Peanut Butter Chocolate Chip Snowball Cookies
Step 1: Cream the Butter and Sugar
In a large mixing bowl, beat the softened butter, peanut butter, and powdered sugar until light and fluffy. This step is crucial to creating a soft, tender cookie.
Step 2: Add the Dry Ingredients
Mix in the vanilla extract and gradually add the flour and salt. The dough will be thick but should come together easily. Stir in the mini chocolate chips until evenly distributed.
Step 3: Chill the Dough
Cover the bowl with plastic wrap and chill the dough for 30 minutes. This helps the cookies keep their round shape while baking.
Step 4: Shape and Bake
Preheat your oven to 350°F (175°C). Roll the dough into 1-inch balls and place them on a parchment-lined baking sheet about 1 inch apart. Bake for 10-12 minutes, or until the bottoms are lightly golden.
Step 5: Cool and Coat
Let the cookies cool for 5 minutes on the baking sheet, then roll them in powdered sugar while they’re still warm. Once completely cooled, roll them in powdered sugar again for an extra snowy finish.
Equipment Needed
- Mixing bowls
- Hand or stand mixer
- Measuring cups and spoons
- Parchment paper
- Baking sheets
- Cooling rack
Frequently Asked Questions
Can I use chunky peanut butter instead of creamy?
Yes, you can! Chunky peanut butter will add a bit of texture with small peanut pieces, which can be a fun twist.
Do these cookies freeze well?
Absolutely! Store them in an airtight container and freeze for up to 3 months. Thaw at room temperature and re-roll in powdered sugar if needed.
Can I use regular chocolate chips instead of mini?
Yes, but mini chips work better for an even distribution in the small cookies. If using regular chips, chop them into smaller pieces for best results.
How do I prevent the cookies from spreading too much?
Chilling the dough is key! It helps the cookies hold their round, snowball shape while baking.
Can I add nuts to the recipe?
Sure! Chopped pecans or walnuts would be a delicious addition. Just reduce the amount of chocolate chips slightly to make room for the nuts.
Do I have to roll them in powdered sugar twice?
While it’s not mandatory, rolling them twice gives the cookies that perfect snowy coating. The first layer melts slightly, while the second layer stays powdery and beautiful.
I hope you enjoy making these delightful Peanut Butter Chocolate Chip Snowball Cookies as much as I do! They’re easy, festive, and oh-so-tasty. Perfect for gifting, holiday parties, or just indulging in a sweet treat for yourself.
If you loved this recipe, don’t forget to share it on Facebook using the buttons below or save it on Pinterest for later. Happy baking and happy holidays! 🎄🍪


