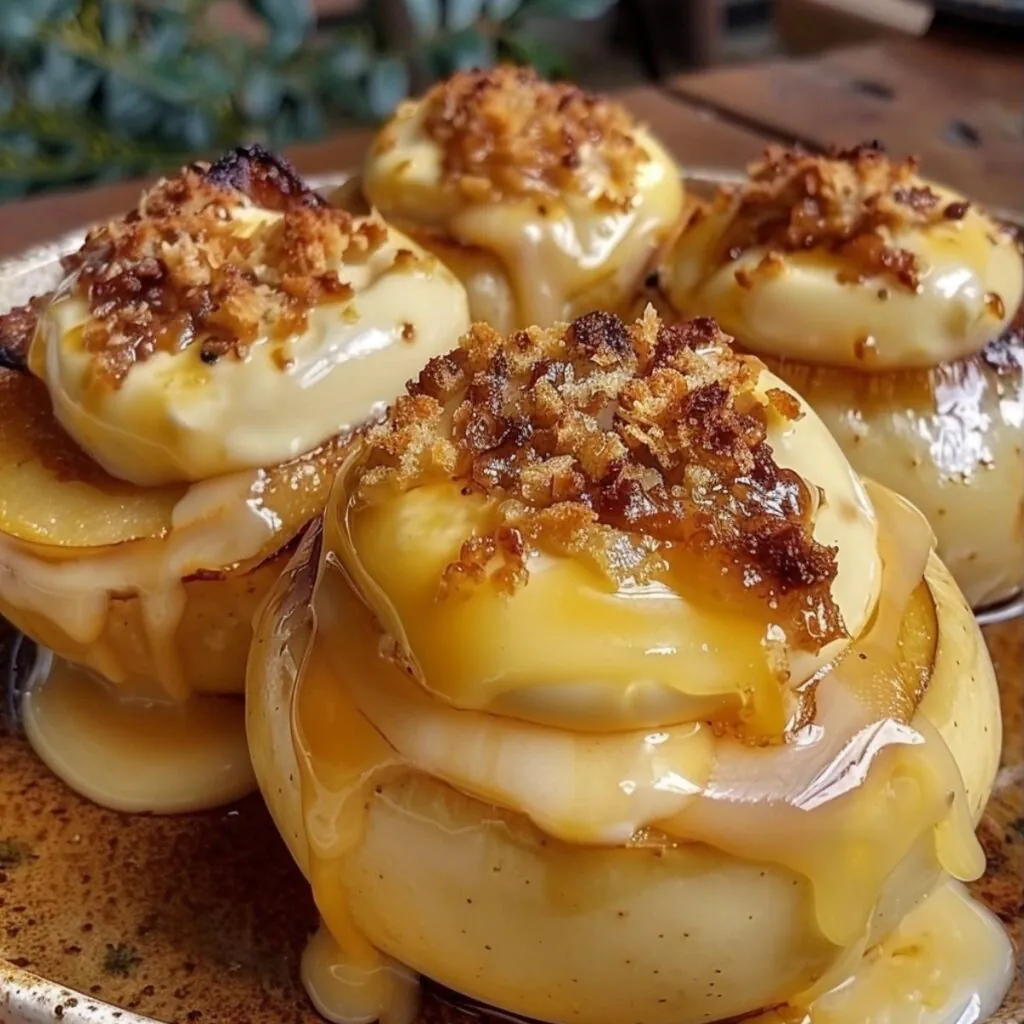
Hey there, foodie friends! 🍎🍰 If you’re looking for the ultimate fall dessert that tastes like a warm hug, let me introduce you to Cheesecake Stuffed Baked Apples. These beauties are bursting with creamy cheesecake filling, warm spices, and a drizzle of sweet indulgence. They’re easy to whip up and will have everyone coming back for seconds (or thirds!). Let’s dive in and make this irresistible treat together.
Ingredients
Here’s what you’ll need to bring these cozy apples to life:
- Large Apples (4-6 apples)
The star of the show! Go for firm varieties like Honeycrisp or Granny Smith to hold their shape during baking. - Cream Cheese (8 oz, softened)
The key to that luscious cheesecake filling. Let it soften at room temperature for easy mixing. - Granulated Sugar (¼ cup)
Sweetens the cheesecake filling perfectly. - Vanilla Extract (1 tsp)
Adds a lovely depth of flavor to the cheesecake mixture. - Ground Cinnamon (½ tsp)
Brings those cozy, warm fall vibes. - Graham Cracker Crumbs (¼ cup)
For a crunchy topping that mimics classic cheesecake crust. - Butter (2 tbsp, melted)
Helps the crumbs stick and adds richness. - Caramel Sauce (optional, for drizzling)
A dreamy final touch! You can use store-bought or make your own.
Quick Prep Tip: Use an apple corer to hollow out the apples in no time. If you don’t have one, a spoon works just as well—just be gentle!

How to Make Cheesecake Stuffed Baked Apples
Step 1: Prep the Apples
Preheat your oven to 350°F (175°C). Carefully core the apples, creating a hollow center for the cheesecake filling. Leave about ½ inch at the bottom to hold everything in.
Step 2: Mix the Cheesecake Filling
In a bowl, beat the softened cream cheese, sugar, vanilla extract, and cinnamon until smooth and creamy. Spoon the mixture into each hollowed-out apple, filling them to the top.
Step 3: Make the Crumb Topping
In a small bowl, combine the graham cracker crumbs with melted butter. Sprinkle this crunchy topping generously over the filled apples.
Step 4: Bake to Perfection
Place the apples in a baking dish and add a splash of water to the bottom of the dish to prevent sticking. Cover with foil and bake for 25 minutes. Remove the foil and bake for an additional 15 minutes, until the apples are tender and the topping is golden brown.
Step 5: Add the Finishing Touch
Drizzle the warm apples with caramel sauce for that extra layer of indulgence. Serve immediately and watch them disappear!
Equipment Needed
- Apple Corer – Makes hollowing out apples a breeze.
- Mixing Bowls – Perfect for whipping up the cheesecake filling.
- Baking Dish – A sturdy, oven-safe dish for even baking.
Frequently Asked Questions
Can I use a different type of apple?
Absolutely! Any firm apple variety will work. Fuji, Braeburn, or Pink Lady are great alternatives to Honeycrisp or Granny Smith.
Can I make these ahead of time?
Yes! Prep and stuff the apples a day ahead, then bake them when you’re ready to serve.
What if I don’t have graham cracker crumbs?
No worries! Crushed digestive biscuits or even oats mixed with butter can be a great substitute.
Can I make these dairy-free?
Sure! Use a dairy-free cream cheese alternative and vegan butter for the topping.
What’s the best way to store leftovers?
Keep them in an airtight container in the fridge for up to 2 days. Reheat in the oven or microwave before serving.
Do I have to add caramel sauce?
Not at all, but it adds a delightful sweetness. You can also sprinkle powdered sugar or drizzle with honey instead.
Conclusion
I hope you loved making (and eating!) these Cheesecake Stuffed Baked Apples as much as I do. They’re the perfect combination of cozy fall flavors and creamy cheesecake decadence. If you try this recipe, don’t forget to share it with your friends on Facebook or save it to Pinterest for later. Happy baking! 🍎✨


