
Equipment Needed for This Recipe
- Non-stick skillet – For sautéing the chicken and toasting the wraps.
- Mixing bowl – To toss the cheesy chicken filling.
- Spatula – To flip the wraps as they toast.
- Knife and cutting board – For chopping parsley (optional) and dicing chicken if not pre-shredded.
Frequently Asked Questions
Can I use another type of cheese?
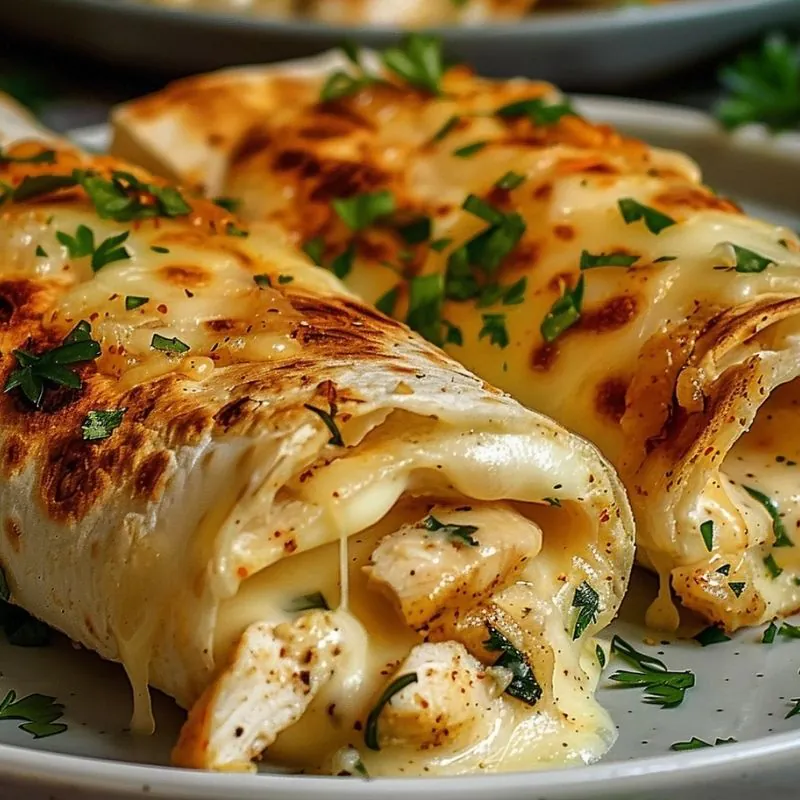
Absolutely! While mozzarella is ideal for its meltability, cheddar, provolone, or even a Mexican blend would work great for added flavor.
What’s the best way to store leftovers?
Wrap each cooled wrap tightly in aluminum foil or plastic wrap and store in the fridge for up to 3 days. Reheat them in a skillet for the best texture.
Can I make these wraps vegetarian?
Of course! Swap the chicken for sautéed mushrooms, spinach, or roasted veggies like bell peppers and zucchini.
Can I bake these instead of toasting in a skillet?
Yes, you can! Preheat your oven to 375°F (190°C), place the assembled wraps on a baking sheet, and bake for 10–12 minutes until golden.
What’s a good side dish to pair with these wraps?
These wraps pair wonderfully with a fresh green salad, crispy fries, or even a bowl of tomato soup for dipping.
Can I freeze the wraps?
Yes! Wrap each one tightly in plastic wrap, then aluminum foil. Freeze for up to 2 months. When ready to eat, thaw overnight in the fridge and reheat in a skillet or oven.
How can I make them spicier?
For an extra kick, add a drizzle of hot sauce to the chicken mixture or sprinkle red pepper flakes before rolling the wraps.
Conclusion
I hope you enjoyed this recipe as much as I did sharing it with you! These cheesy garlic chicken wraps are quick, satisfying, and perfect for any occasion. Whether it’s a lazy dinner or a game-day snack, they’re sure to be a hit.
Don’t forget to share this recipe on Facebook using the buttons below or save it to your Pinterest board for later. Let me know in the comments how yours turned out—I’d love to hear your thoughts! 😊
