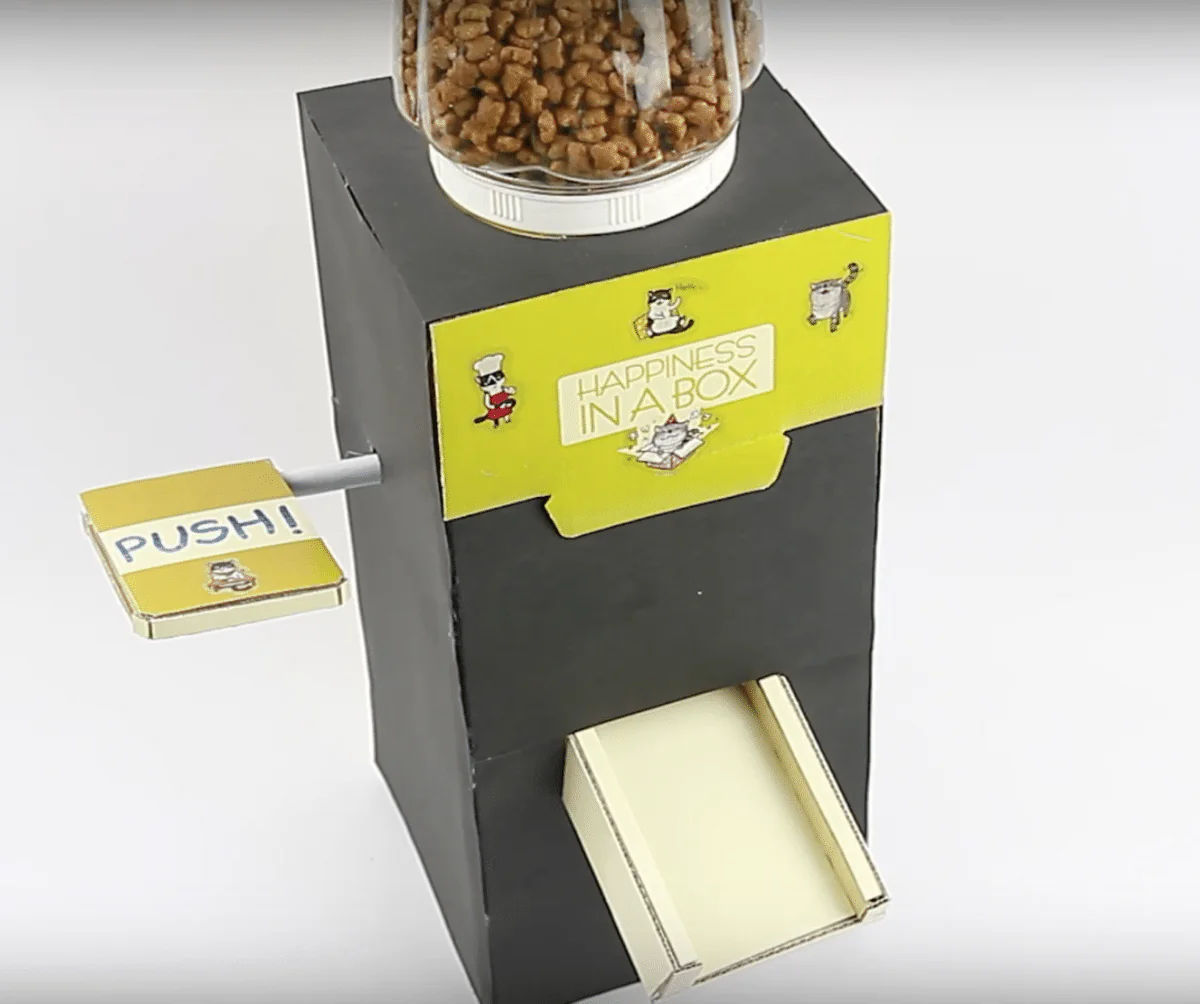
Do you also tend to buy all the accessories in the world for your fur ball, even if it means ruining yourself? Know that you can make a large majority of her accessories yourself while still making her happy. You can start with this very economical cardboard kibble dispenser!
Thanks to this tutorial, you can make your own kibble dispenser for your cat. It’s done in no time and the necessary materials will not even cost you 1€without forgetting that Félix will be happy to have a new accessory. So many good reasons to get into DIY!
What you need:
- cardboard (fairly strong)
- a glue gun
- un cutter
- a few flat pieces of wood
- a gray pencil
- a rule
- a sheet of paper
- two elastics
- a jar with a plastic lid
The steps:
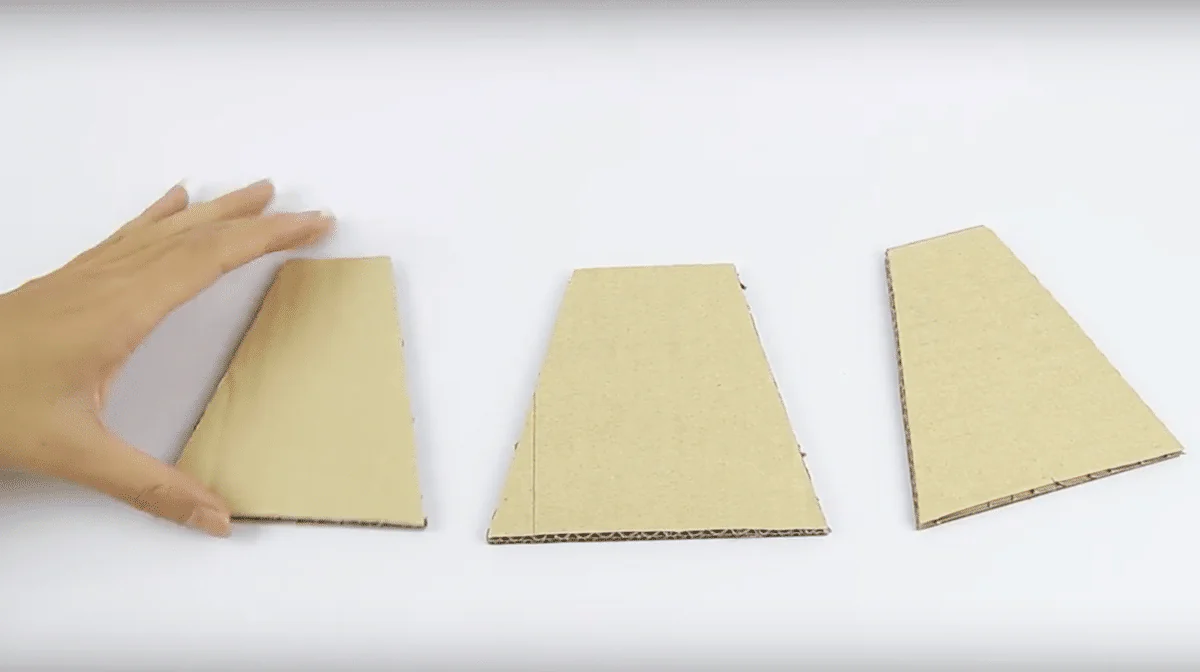
1. Cut out four pieces of cardboard of the following form.
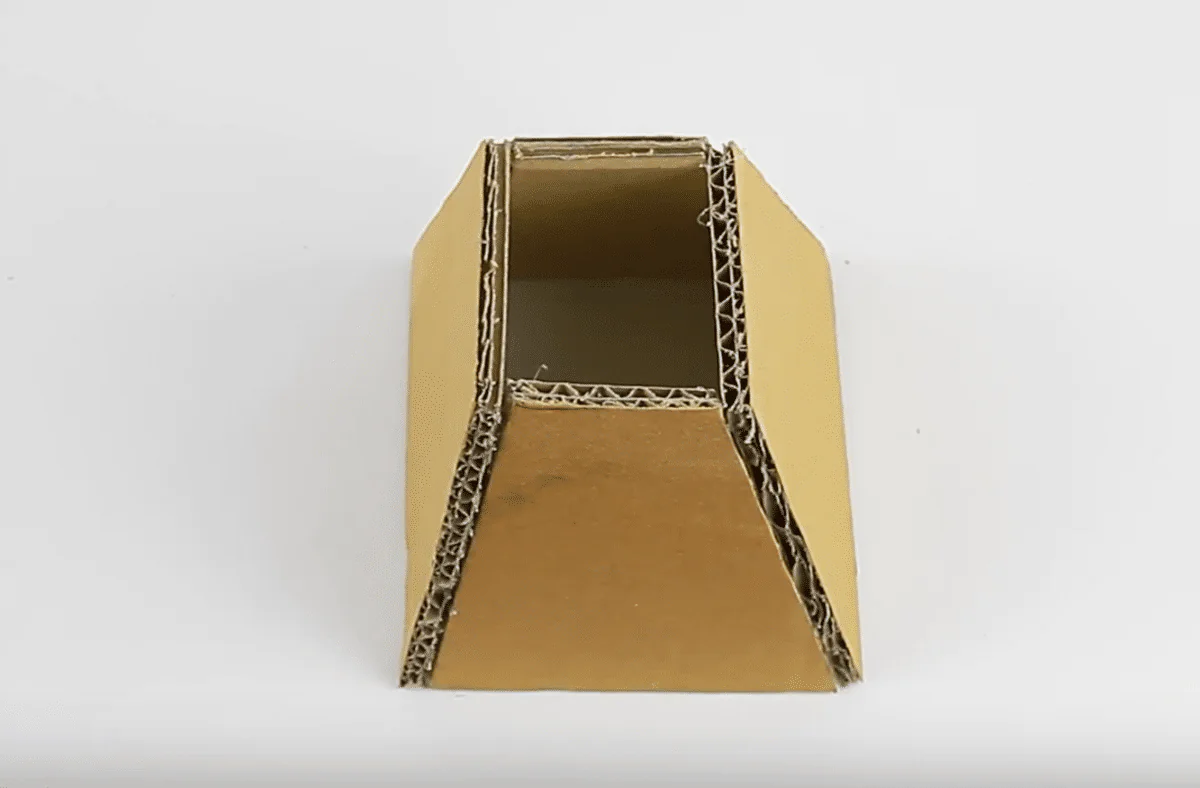
2. Using the glue gun, assemble the four pieces so that they form a kind of cone.
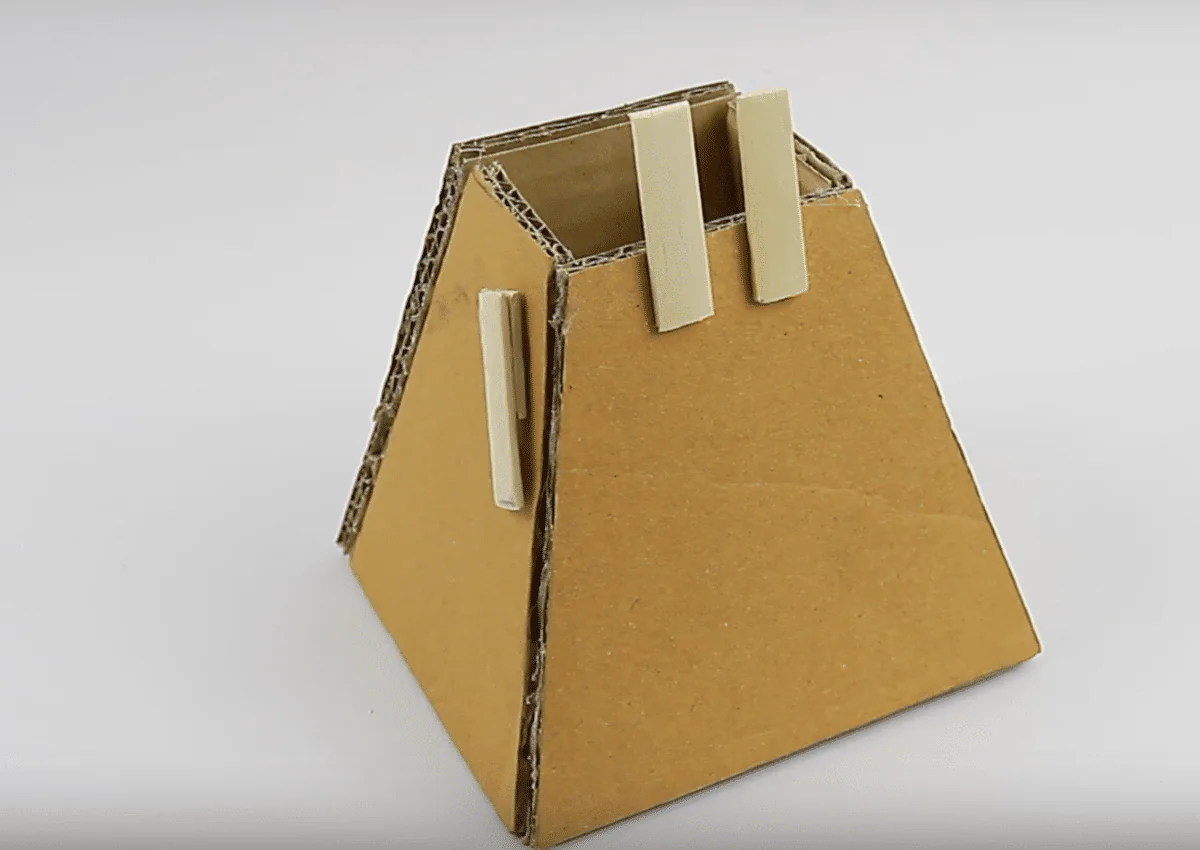
3. Cut a few small pieces of wood and glue them on (on the right and left side of the cone, glue a large piece of wood to a smaller one).
4. Roll up a sheet of paper around a pencil.
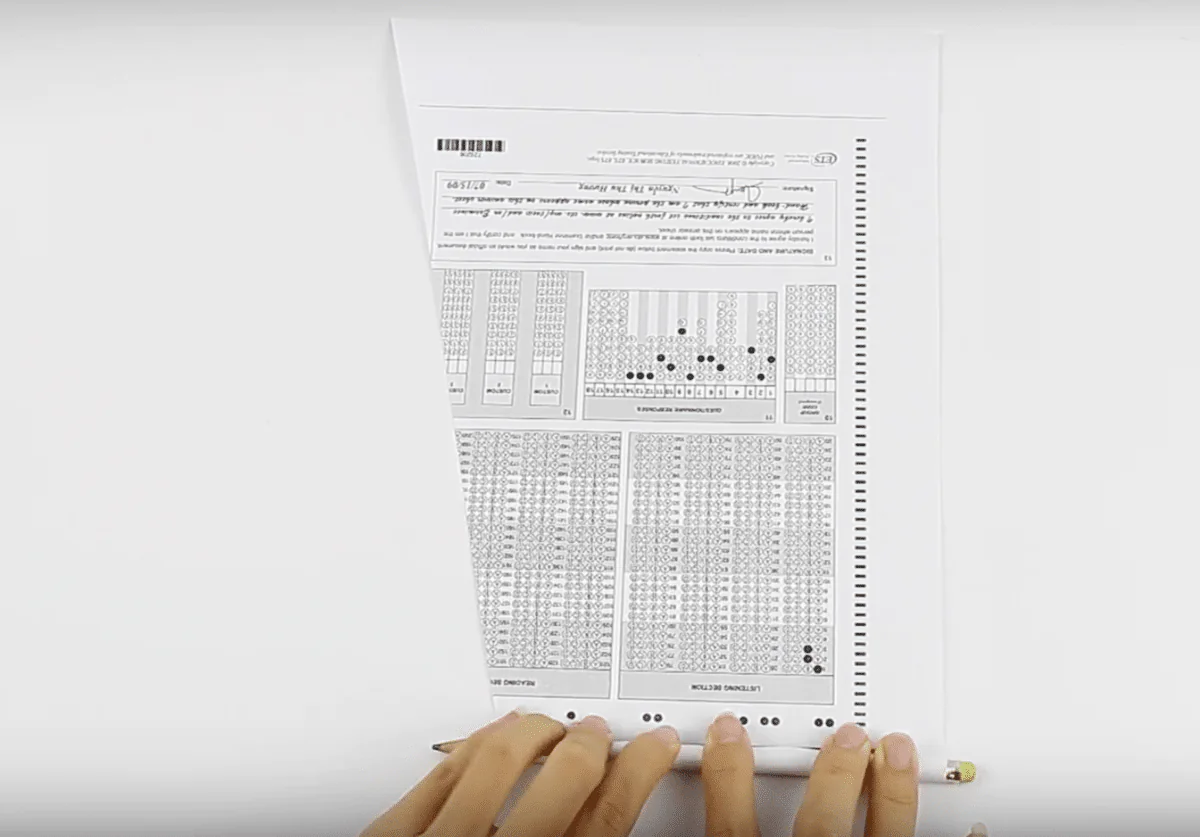
5. On a rectangular piece of cardboard, stick the pencil wrapped in paper on one of the sides.
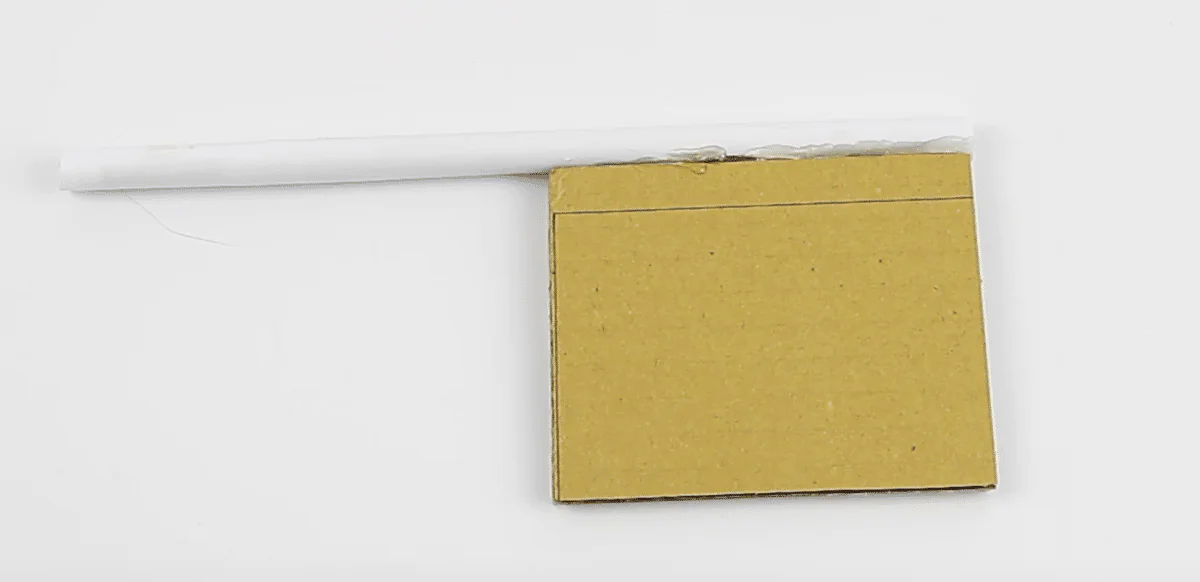
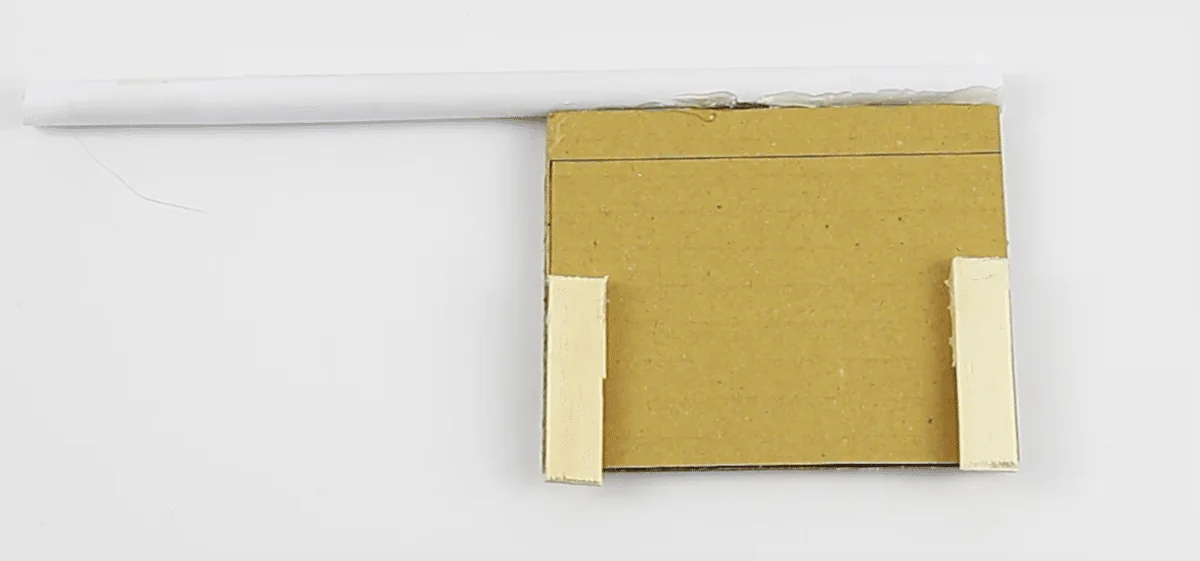
6. Paste again a large piece of wood on a smalltwice, then glue them in the corner of one side of the piece of cardboard.
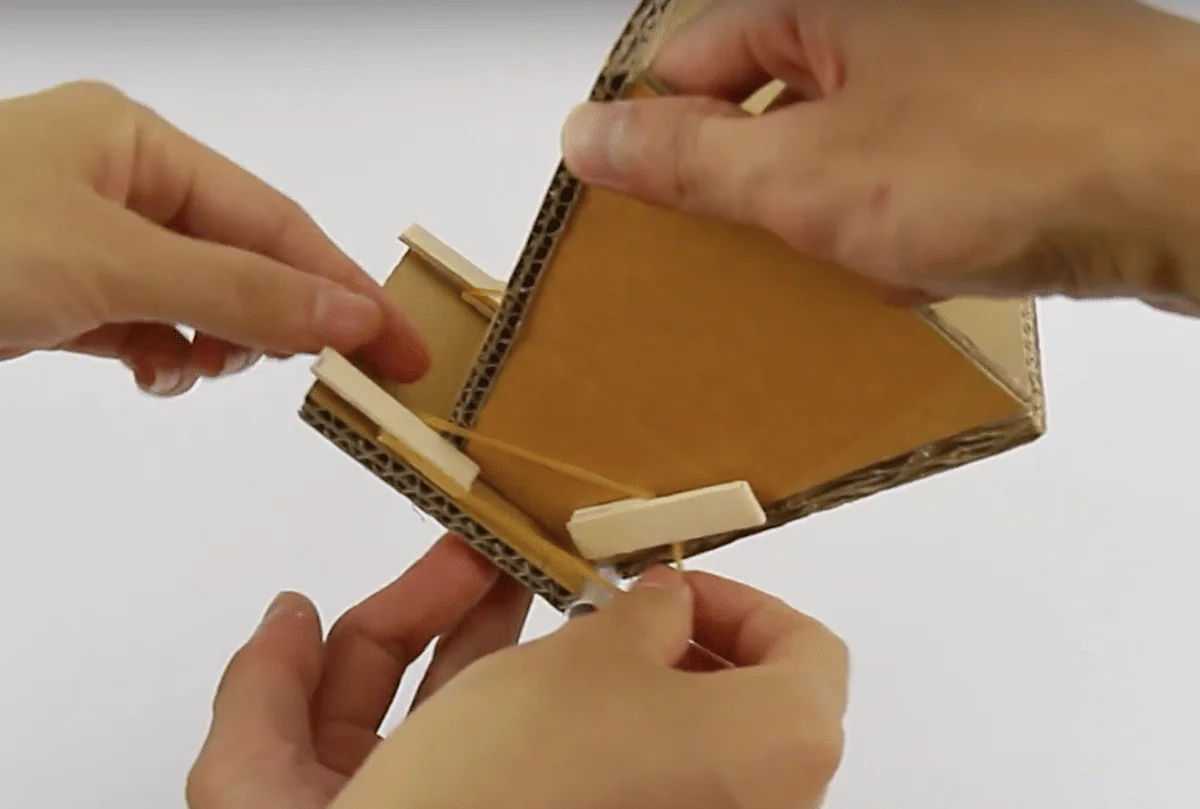
7. Attach the cone to the piece of cardboard using two elastic bands.
8. Paste two rectangular pieces of cardboard (of the same size) and a piece of square cardboard together by inserting your construction into it.
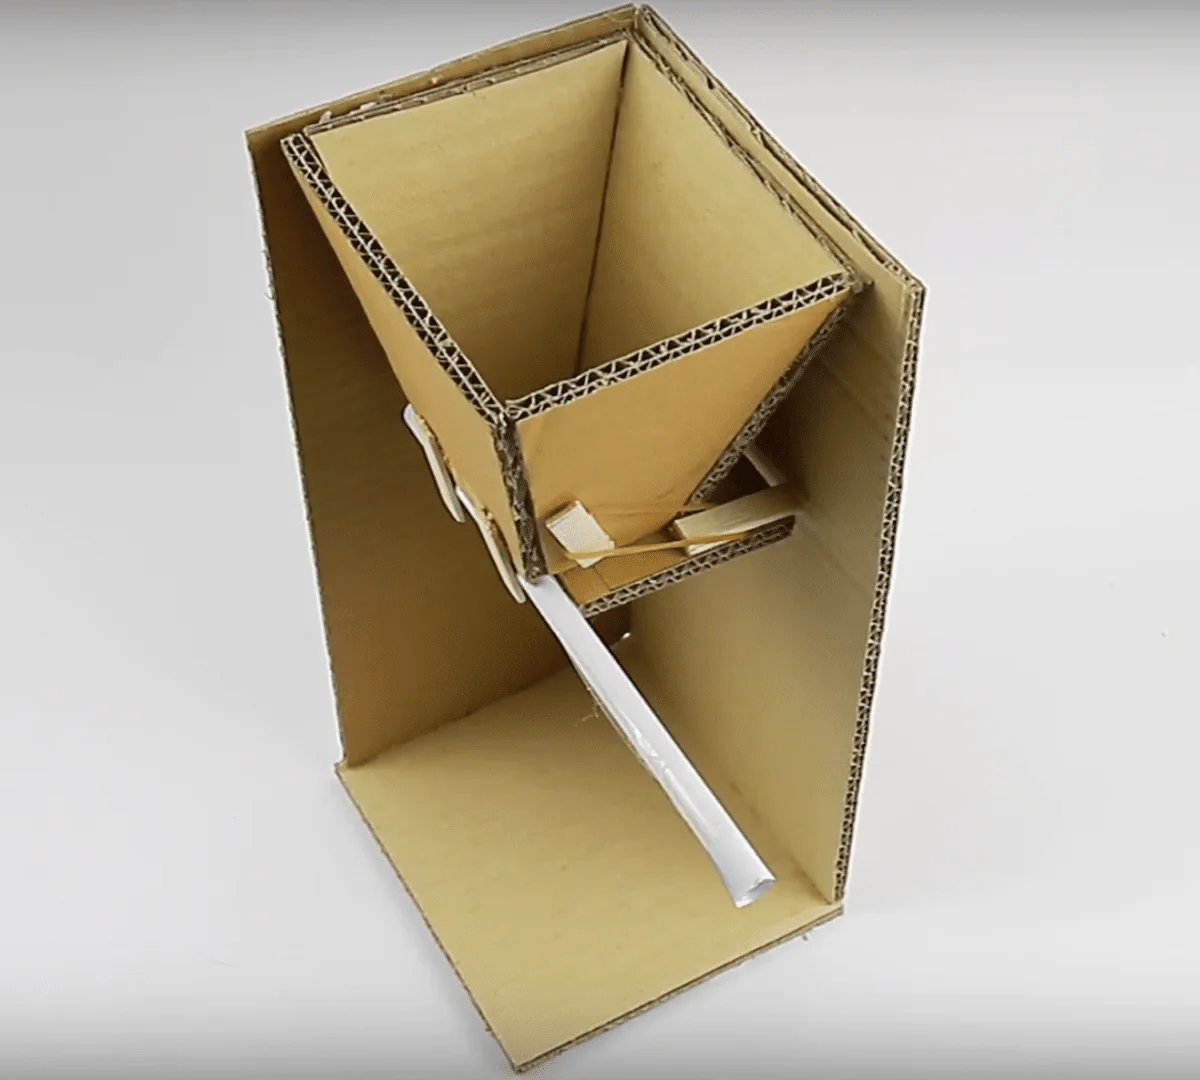
9. In a rectangular piece of cardboard the size of the previous two, make a hole in the rolled paper then insert it.
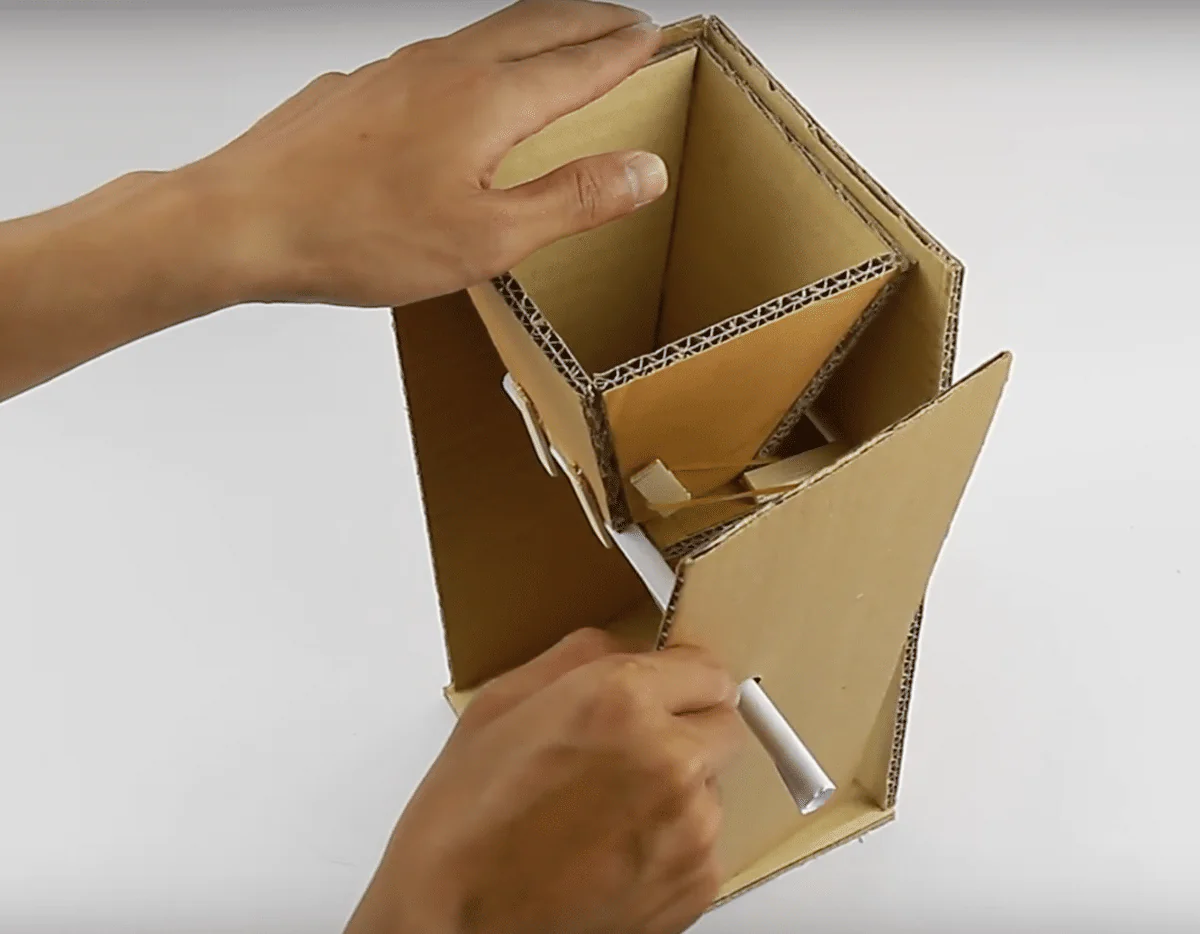
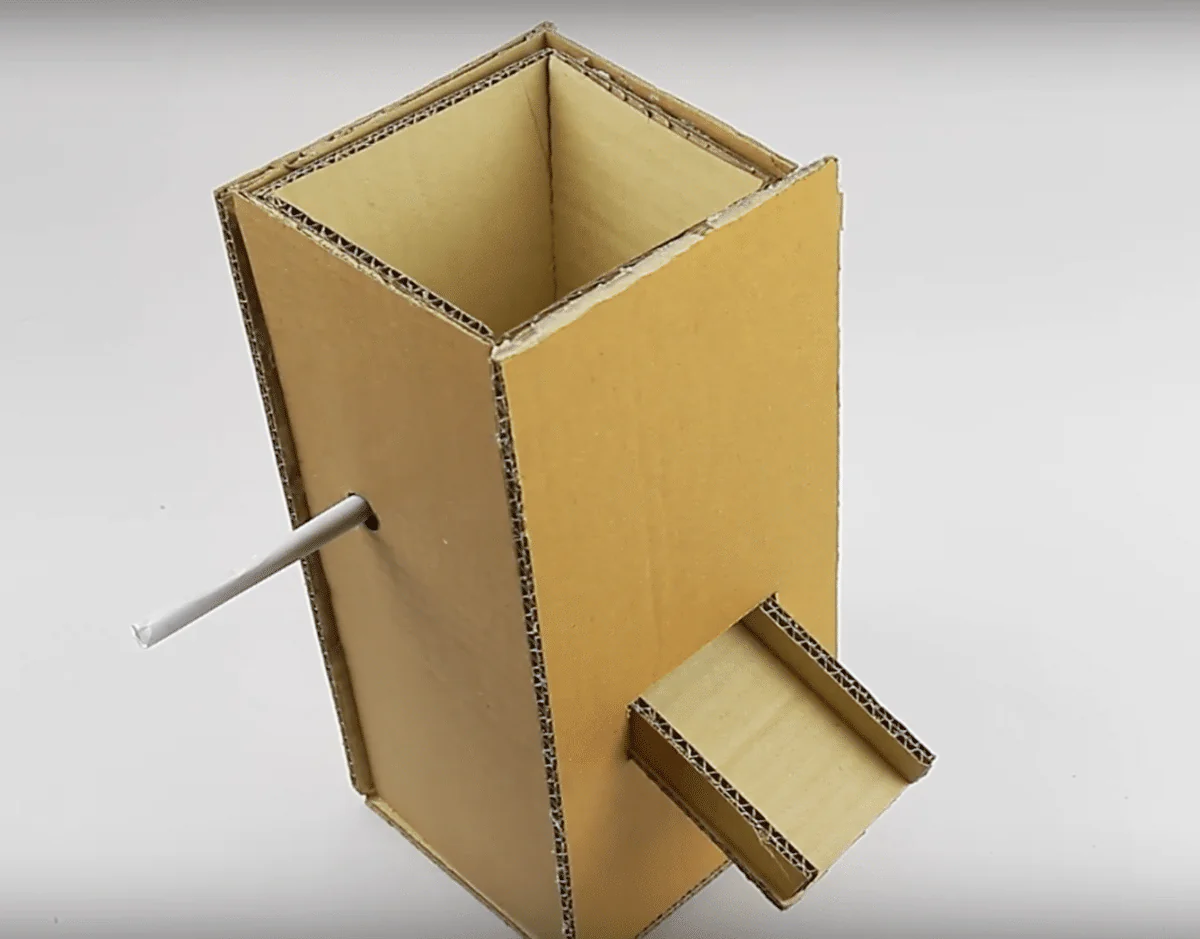
10. On a rectangular piece of cardboard the size of the previous ones, cut a slit. Next, make a sort of ramp with three pieces of cardboard then insert and glue it into the rectangular piece.
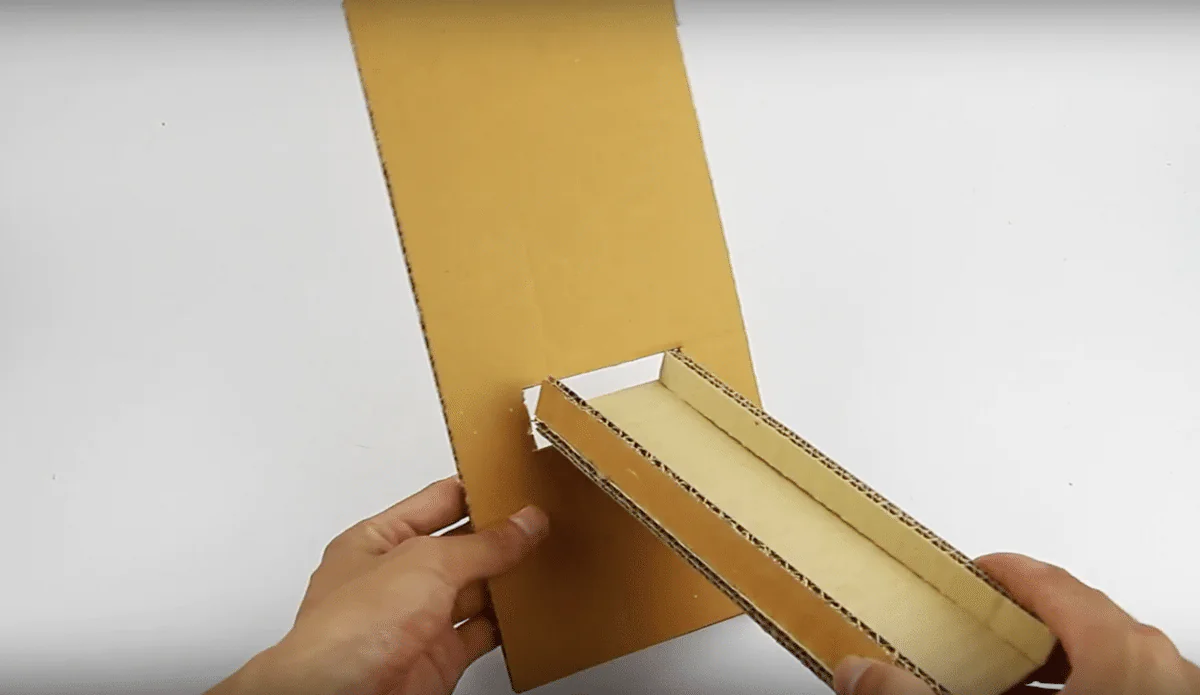
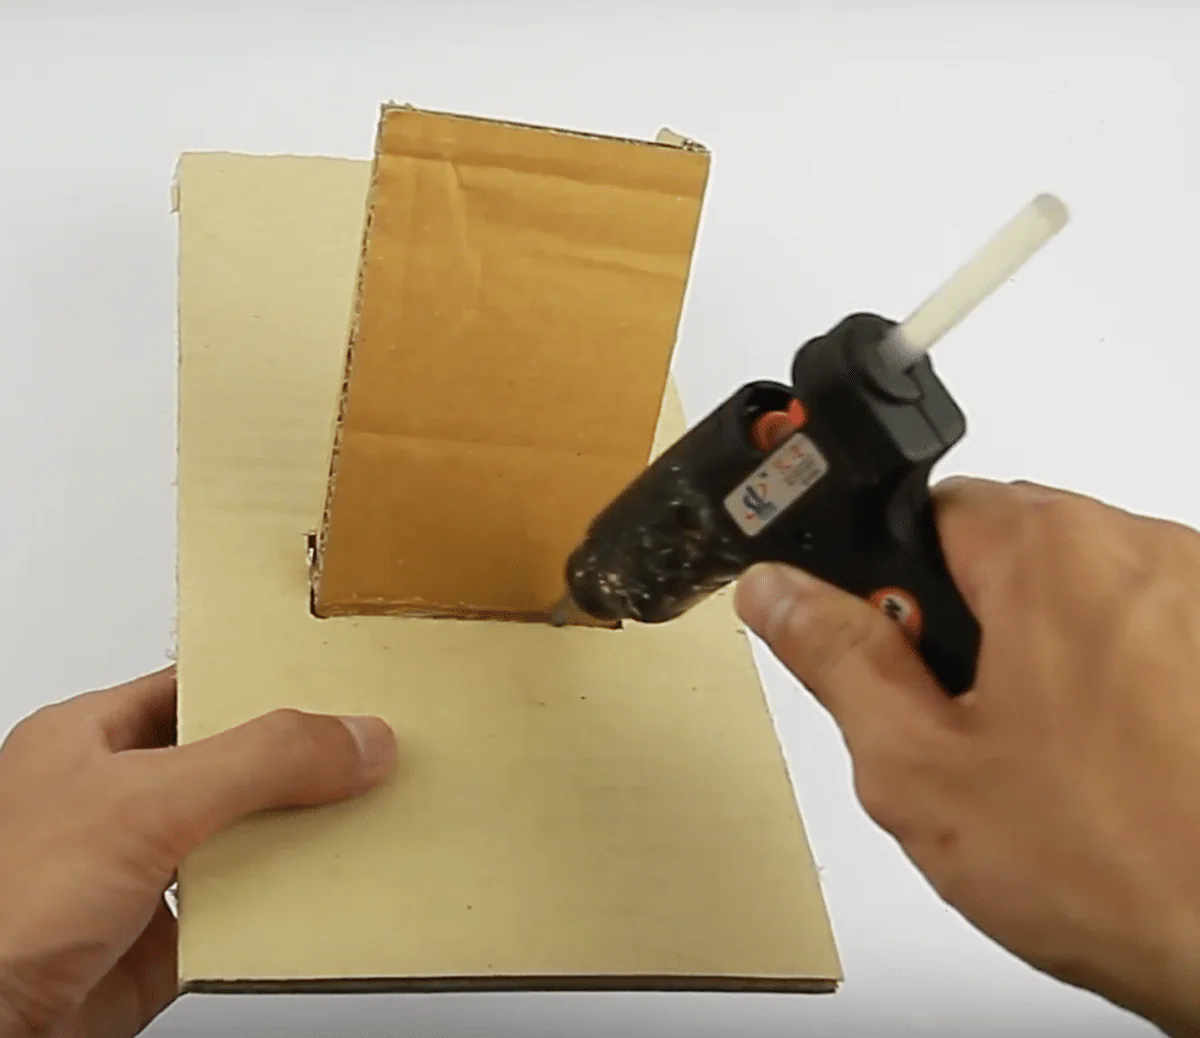
11. Assemble everything with the glue gun.
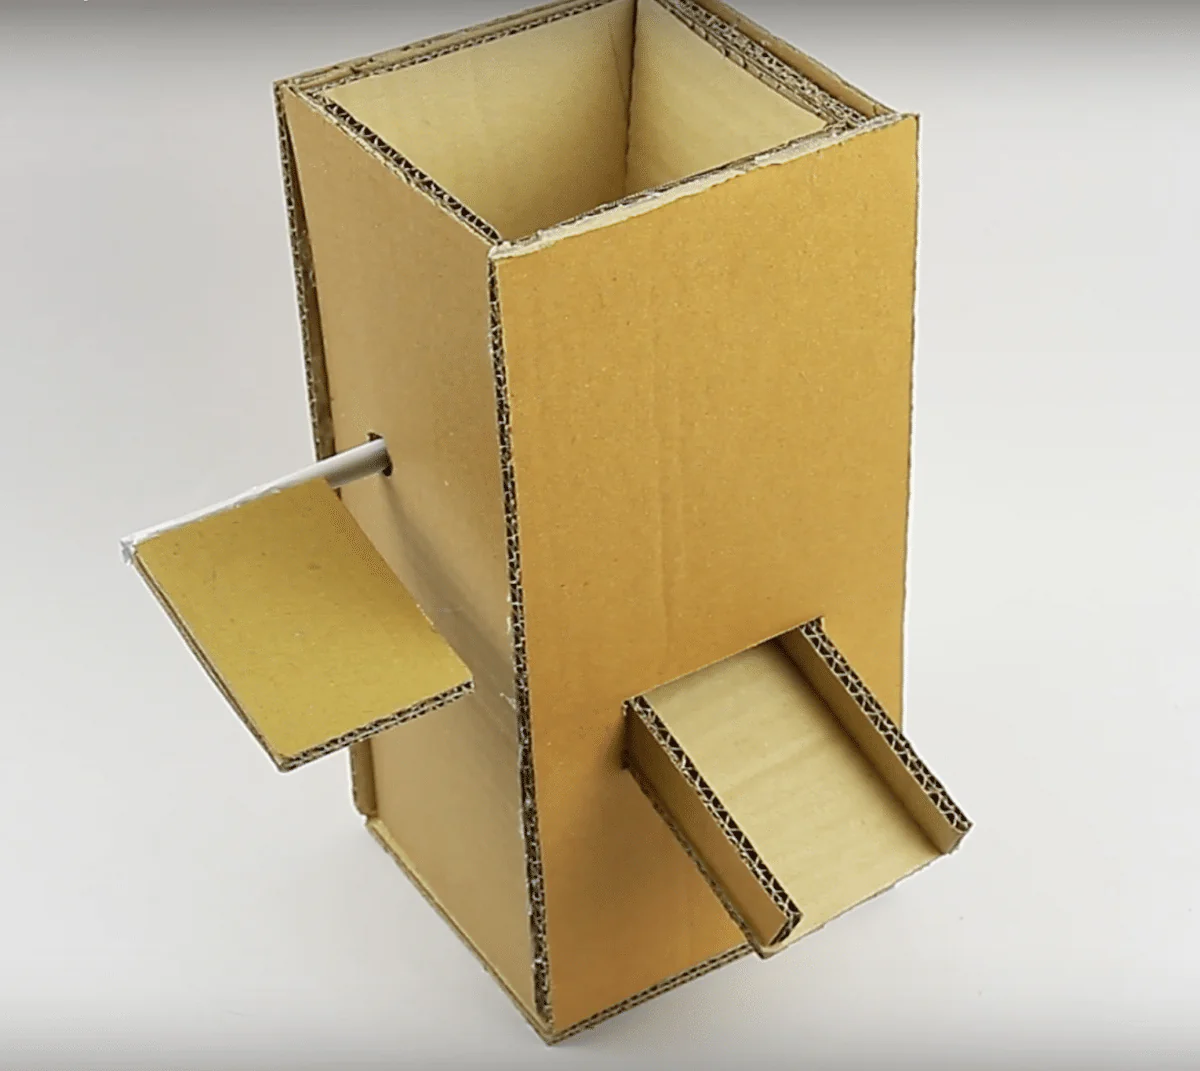
12. Glue a piece of cardboard to the pencil on the ramp side (it will serve as a pusher).
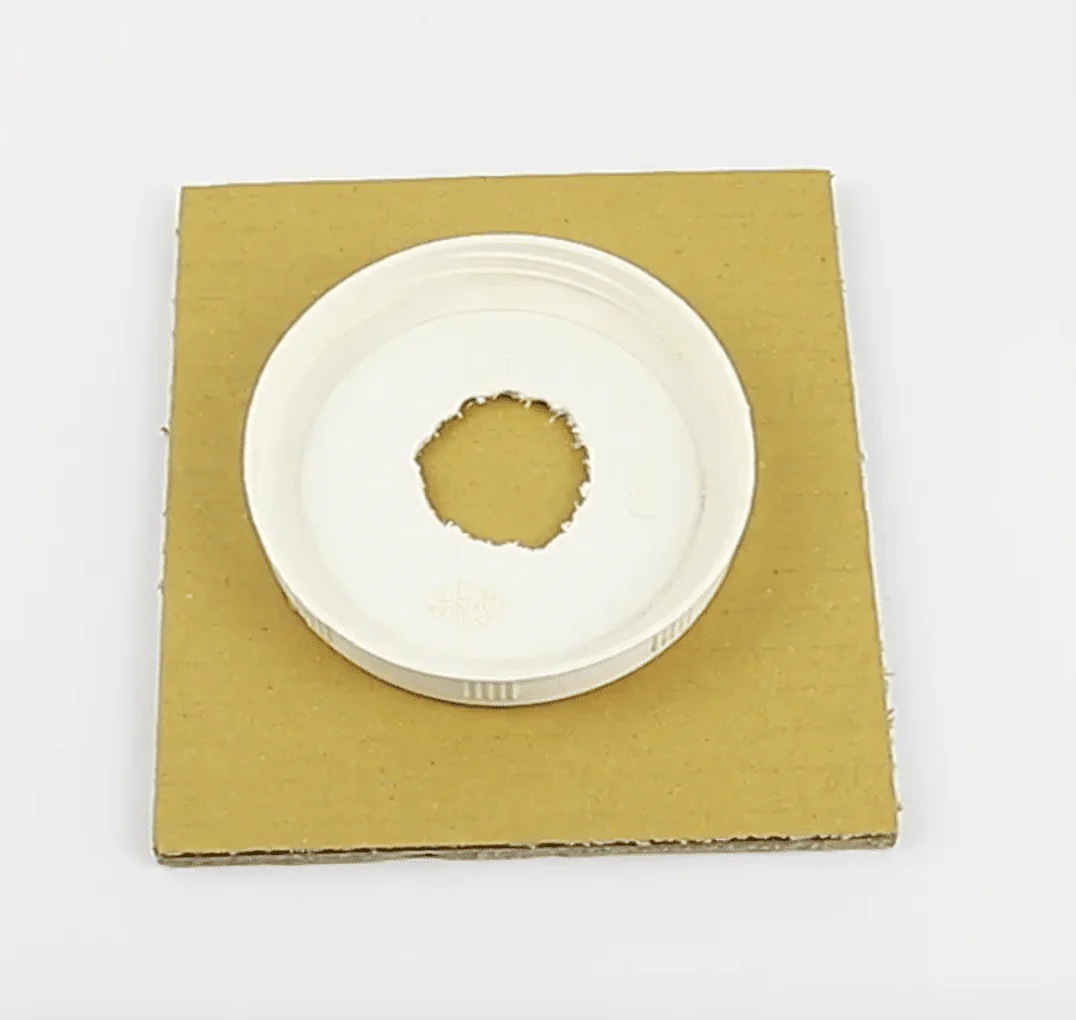
13. Drill a hole in the center of the lid of the jar. Then glue it to a piece of cardboard.
14. Fill the jar with kibble. Then close it.
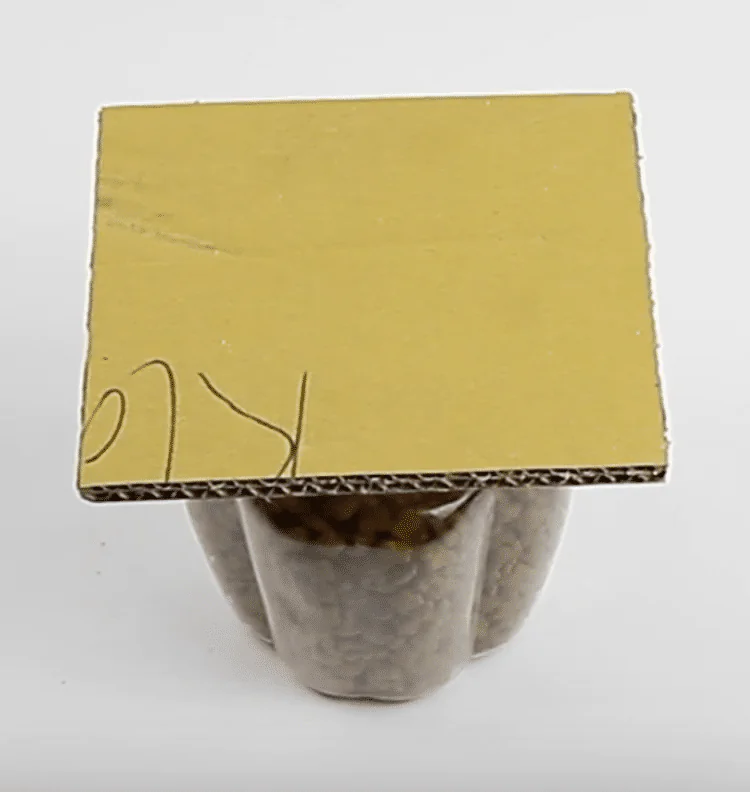
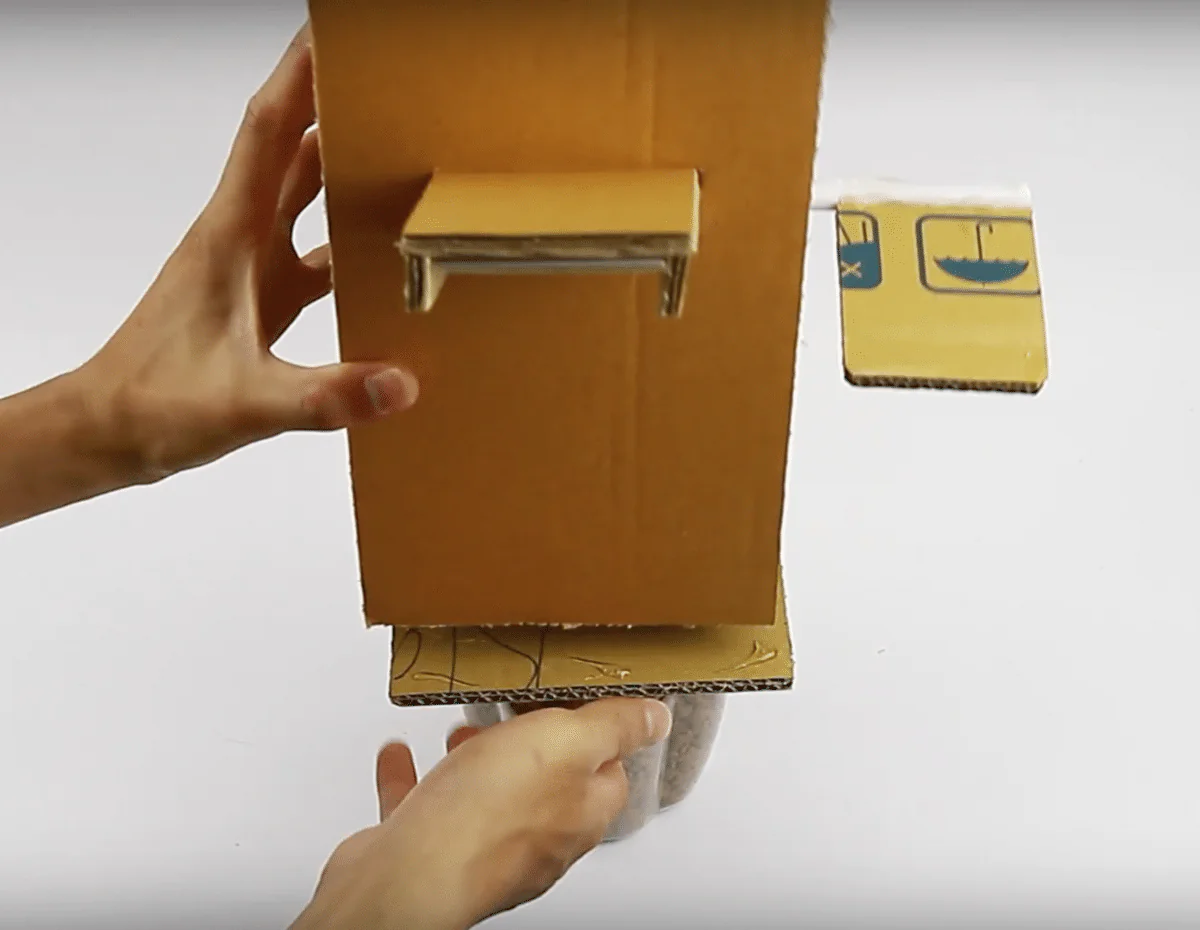
15. Glue the first construction to the second. Once the glue is dry, return the whole thing.
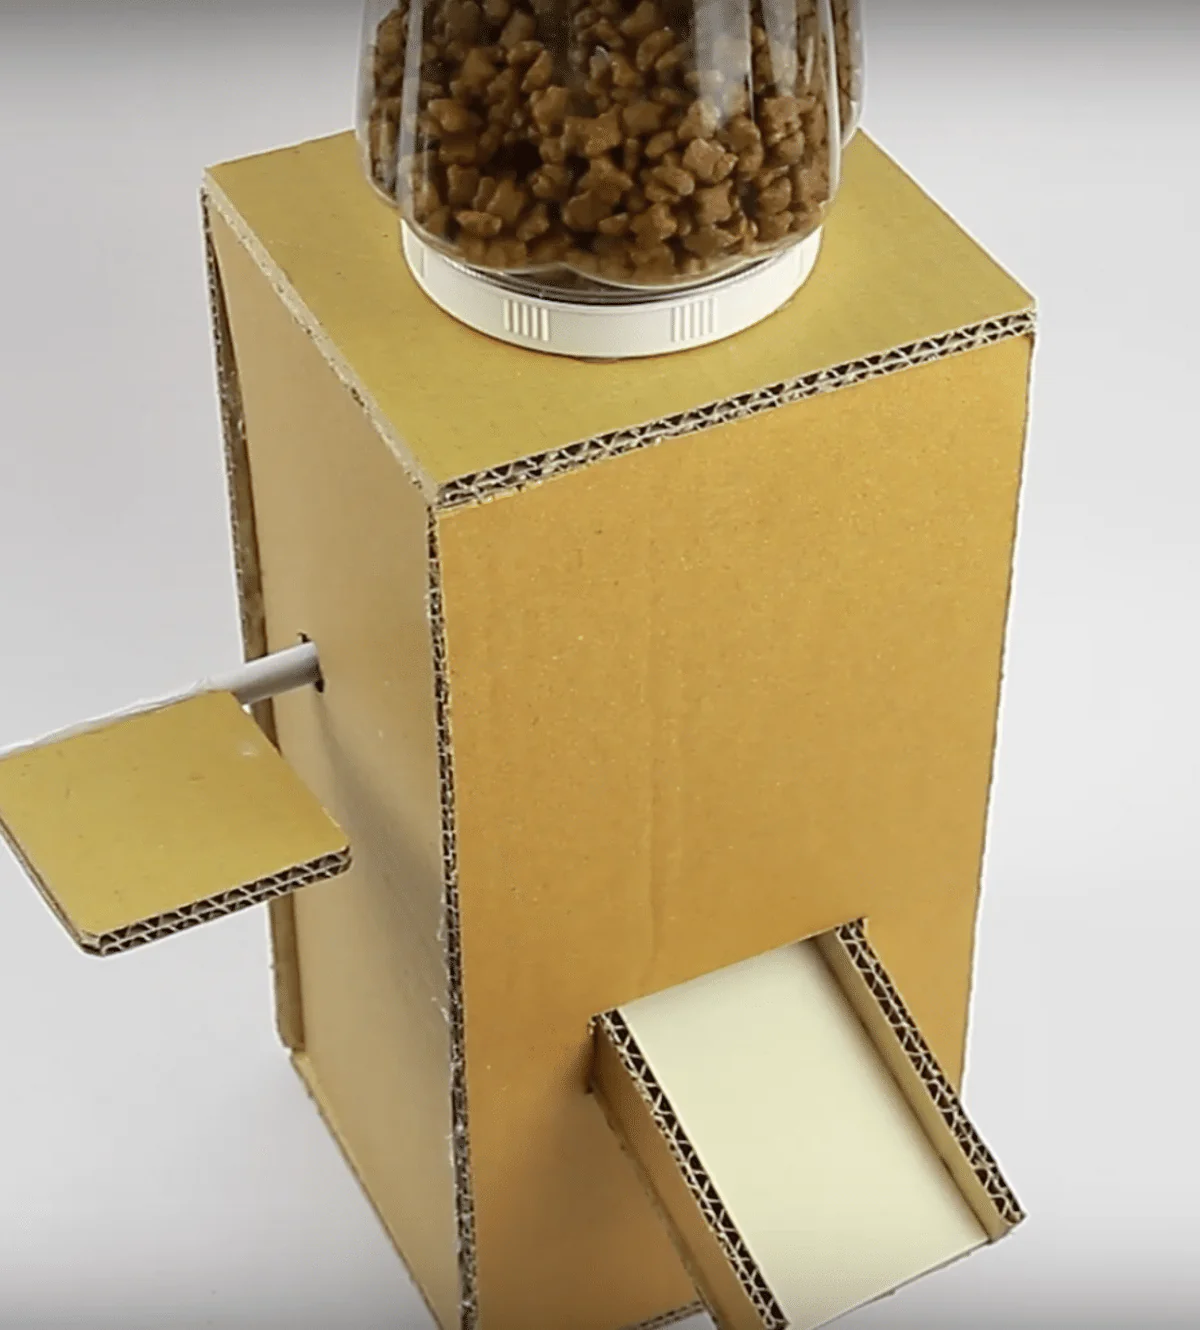
16. Finally, decorate the distributor as you wish!
