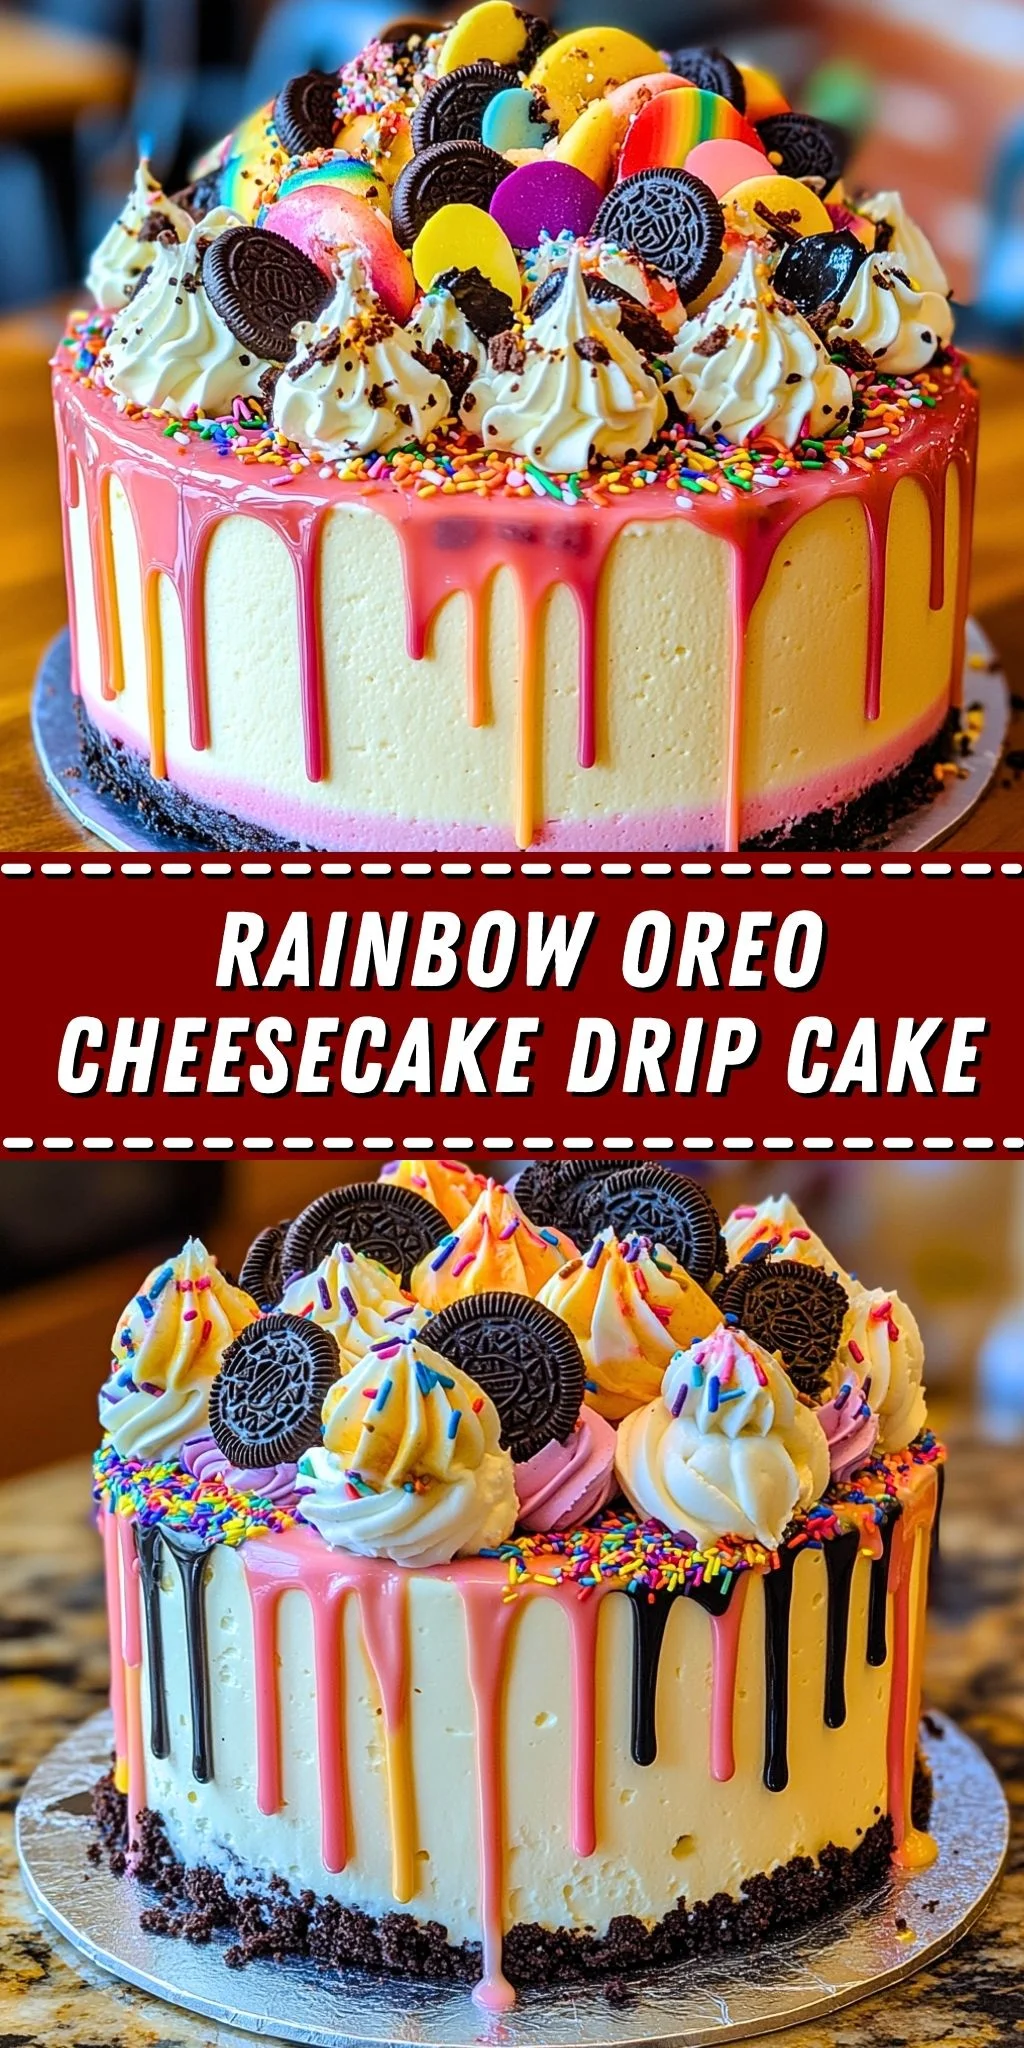
How to Make Rainbow Oreo Cheesecake Drip Cake
Bringing this cheesecake to life is a fun process that results in a beautifully decorated, mouthwatering dessert. Follow these steps to ensure perfection:
Step 1: Prepare the Crust
- Preheat your oven to 325°F (163°C).
- Crush the Oreo cookies into fine crumbs using a food processor or by placing them in a sealed bag and crushing with a rolling pin.
- Mix the crumbs with melted butter until well combined.
- Press the mixture into the bottom of a springform pan, ensuring an even layer.
- Bake for 8-10 minutes, then let it cool while you prepare the filling.
Step 2: Make the Cheesecake Filling
- In a large mixing bowl, beat the softened cream cheese and sugar until smooth.
- Add eggs one at a time, mixing after each addition.
- Mix in the heavy cream, vanilla extract, cornstarch, and sour cream until fully combined.
- If using food coloring, add a few drops to create a colorful base layer.
- Pour the batter over the cooled crust and smooth the top.
Step 3: Bake the Cheesecake
- Place the springform pan in a larger baking dish and pour hot water into the dish to create a water bath.
- Bake for 50-60 minutes, or until the center is just set. The middle should still have a slight jiggle.
- Turn off the oven and let the cheesecake cool inside for 1 hour with the door slightly open.
- Remove from the oven and refrigerate for at least 4 hours, or overnight, for best results.
Step 4: Prepare the Drip Ganache
- Heat the heavy cream until hot but not boiling.
- Pour over the chopped white chocolate and let sit for 1-2 minutes.
- Stir until smooth, then add food coloring to achieve a vibrant pink or red shade.
- Allow the ganache to cool slightly before drizzling over the cheesecake.
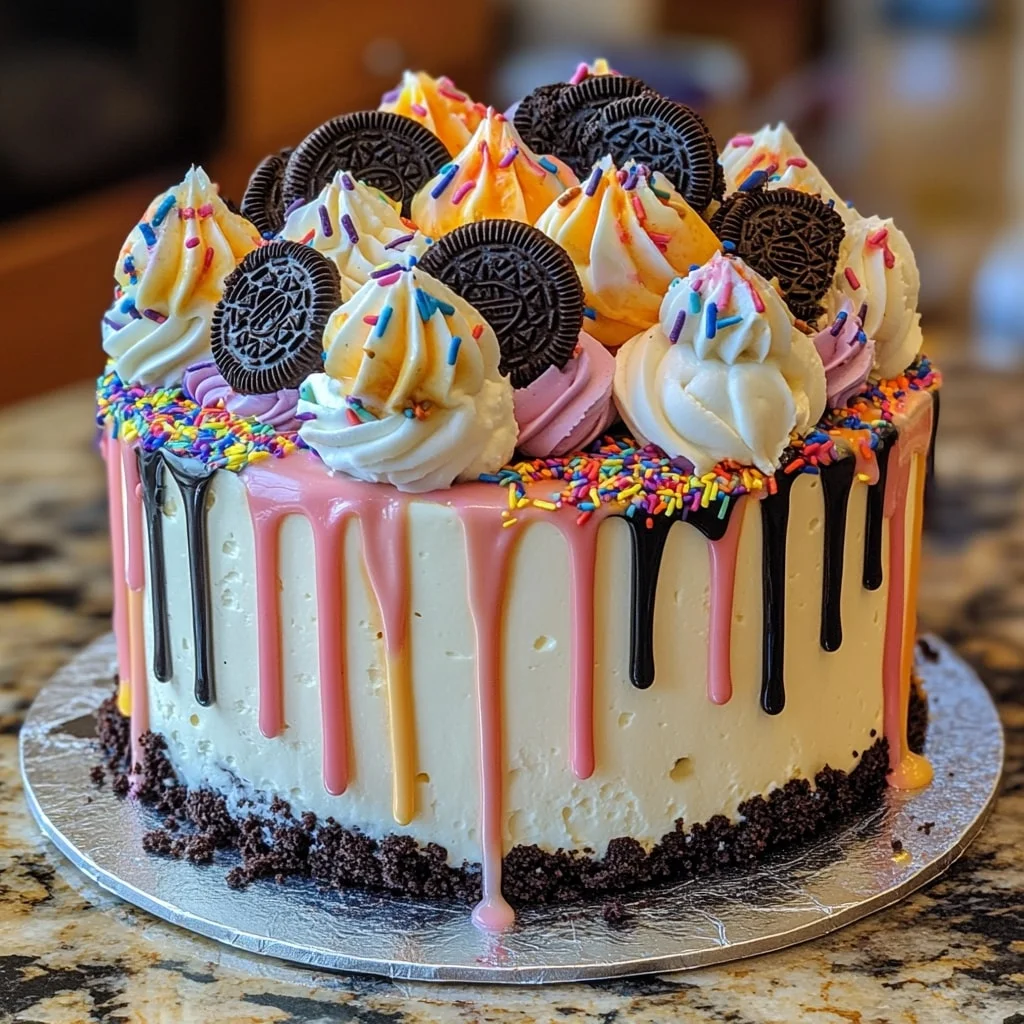
Step 5: Decorate the Cheesecake
- Pour the ganache over the chilled cheesecake, allowing it to drip down the sides.
- Pipe whipped cream around the edges and place halved Oreo cookies on top.
- Sprinkle with crushed Oreos, rainbow chocolate buttons, and colorful sprinkles for a fun, festive finish.
Now your Rainbow Oreo Cheesecake Drip Cake is ready to impress! Serve chilled and enjoy the delightful combination of creamy, crunchy, and colorful textures.
How Long to Bake Cheesecake
The baking time for cheesecake is crucial to achieving the perfect creamy texture without overcooking. Here are some general guidelines to follow:
- Standard Cheesecake (9-inch pan) – Bake for 50-60 minutes at 325°F (163°C).
- Mini Cheesecakes – Bake for 18-22 minutes at 325°F (163°C).
- Deep Cheesecake (taller pan) – Bake for 60-75 minutes at 325°F (163°C).
You’ll know the cheesecake is done when the edges are set, but the center has a slight jiggle when you gently shake the pan. Avoid opening the oven frequently to prevent cracking.
How to Store Leftovers
If you have leftover Rainbow Oreo Cheesecake Drip Cake, here’s how to keep it fresh:
- Refrigerator – Store in an airtight container or cover with plastic wrap and refrigerate for up to 5 days.
- Freezer – Wrap individual slices in plastic wrap and place them in an airtight container. Store for up to 2 months. Thaw overnight in the refrigerator before serving.
Tips for the Perfect Cheesecake
For the best results, follow these expert tips to ensure a smooth, crack-free, and delicious cheesecake:
- Use Room Temperature Ingredients – This helps everything blend smoothly and prevents lumps in the batter.
- Don’t Overmix the Batter – Overmixing can incorporate too much air, causing cracks during baking.
- Use a Water Bath – This keeps the baking temperature even and prevents the cheesecake from drying out.
- Cool Gradually – Let the cheesecake cool in the oven with the door slightly open for an hour before transferring it to the fridge.
- Chill for Best Texture – Refrigerate for at least 4 hours, but overnight is ideal for the creamiest texture.
- Experiment with Toppings – Try using different colors of ganache, extra crushed Oreos, or even edible glitter for an extra fun touch!
This Rainbow Oreo Cheesecake Drip Cake is a guaranteed crowd-pleaser, bringing together rich flavors and vibrant decorations in one stunning dessert. Save this recipe and make your celebrations extra special!