
Equipment Needed for This Recipe
- 6 round 8-inch cake pans
- Mixing bowls
- Electric mixer or whisk
- Spatula
- Piping bag and star tip (optional for decorating)
- Cake stand or board
- Offset spatula for frosting
Frequently Asked Questions
Can I make this cake ahead of time?
Yes! You can bake the layers a day in advance. Wrap them tightly in plastic wrap and store them at room temperature. Frost the cake on the day you plan to serve it for the freshest result.
What if I don’t have buttermilk?
No problem! You can make a substitute by mixing 1 ½ tablespoons of lemon juice or white vinegar into 1 ½ cups of milk. Let it sit for 5 minutes before using.
Can I use regular food coloring?
Liquid food coloring is less vibrant and can thin out your batter. Gel food coloring is highly recommended for the boldest colors.
How do I keep my layers even?
Use a kitchen scale to divide the batter equally among the bowls. This ensures each layer is the same size and thickness.
Can I freeze leftover cake?
Absolutely! Slice the cake and wrap each piece tightly in plastic wrap, then store in an airtight container in the freezer for up to 3 months. Thaw at room temperature before serving.
What’s the best way to smooth the frosting?
Use an offset spatula or a bench scraper for an even, professional finish. Chilling the crumb coat first makes it easier to apply the final layer.
Can I make this gluten-free?
Yes, simply substitute the all-purpose flour with a gluten-free 1:1 baking flour. Make sure all other ingredients (like baking powder) are gluten-free as well.
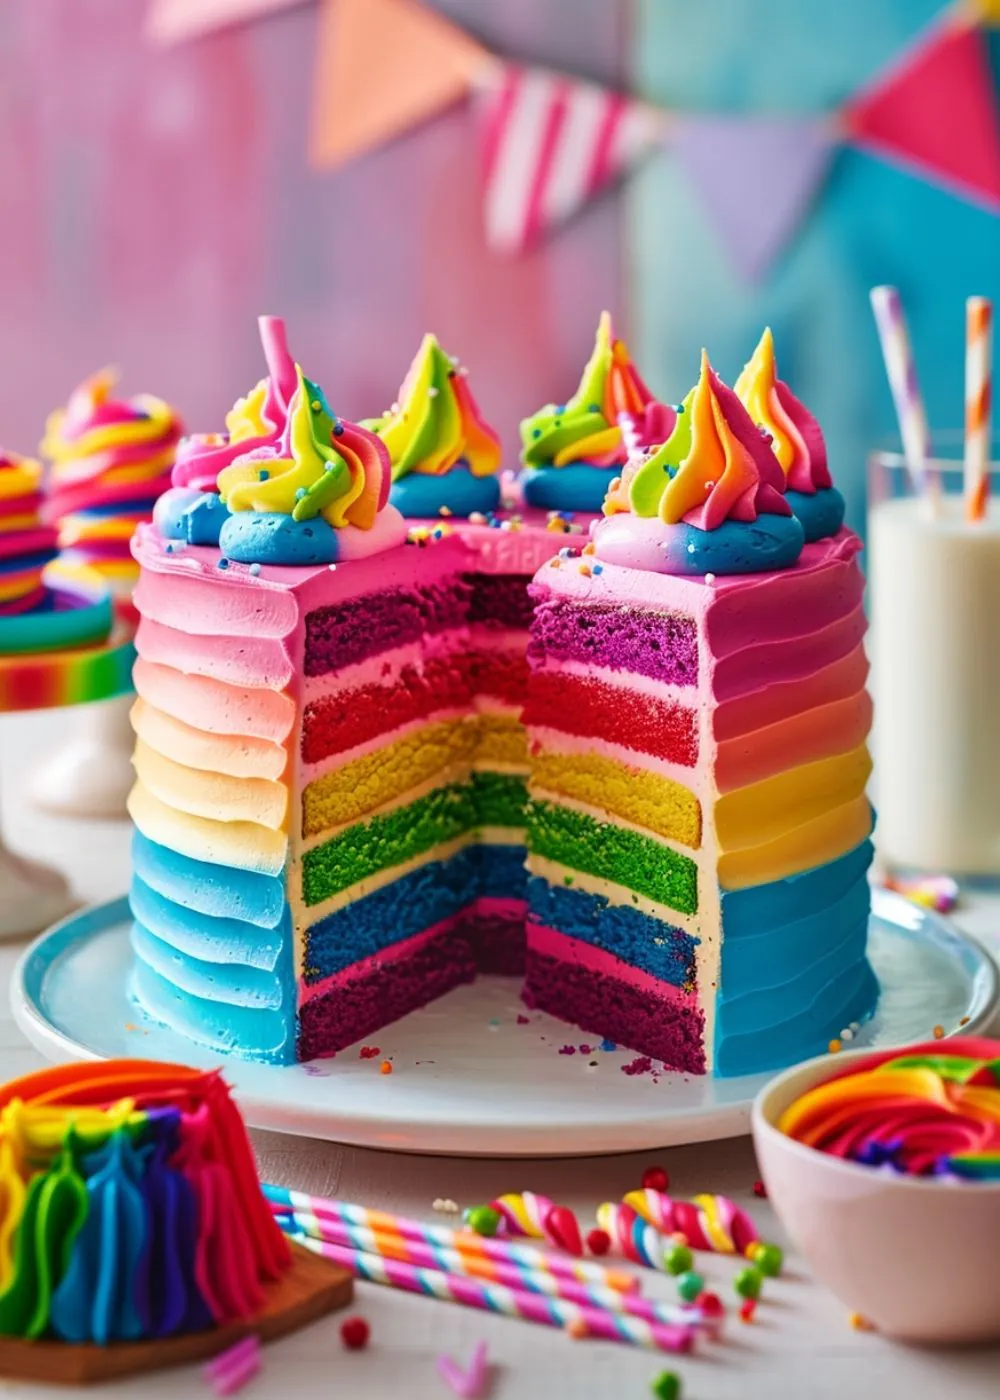
Let’s Bake a Rainbow!
I hope you loved this colorful journey of creating a Rainbow Velvet Cake! It’s a labor of love, but the result is absolutely worth it—a sweet, vibrant masterpiece that’s guaranteed to bring smiles. Don’t forget to share your gorgeous cake on Facebook using the share buttons below or save this recipe on Pinterest for your next special occasion. Happy baking! 🌈
